[This is kind of a #tbt kind of post. I last made this cake TEN YEARS ago. Yikes.]
Apparently it is that time of year that everyone loves to make fun of fruitcake. Here’s my take: commercially-made fruitcakes can and often do suffer from all the problems that all commercially-made foodstuffs do, namely cheap ingredients and way too much sugar.
Take things to the next level, by making your own, OR by using a variant far more friendly to adults who like things a little tipsy, and now you’re talking. This Jamaican Black Cake is a long-running experiment by the awesome food writer Laurie Colwin, who wrote about it in her book, “Home Cooking“. She died in 1992, but remains an influence for many cooks and writers alike. Countless foodies and food blogs have delved into their own attempts over the years, like thekitchn, Saveur, and more. There was a “bake-along“. And over at the New York Times they simply featured a nice homage to Laurie and mentioned the cake.
I made this cake – cakes, actually – 10 years ago back when I actually baked, and it was received by family and friends.
Did they like it? Well, basically… it’s hard to say. This kind of an onslaught of deep flavor with bitter tones is a food best enjoyed by folks described as “adventurous eaters”. That, I am. That, many of my relatives were not. They sampled gamely and might have kind of liked it, but then went right back to the marshmallow fluff fudge.
I still consider it a success. Let me know if you make it (or ever have) and how it turned out. I should make it again because dang was it intense. And I LOVE intense.
Jamaican Black Cake (aka Fruity-Booze Cake): adapted from Laurie Colwin
Here is my modified recipe, with a warning – the whole process takes 3 distinct steps, the first of which must be started at least 2 weeks ahead of time.
STEP 1 (10 minutes):
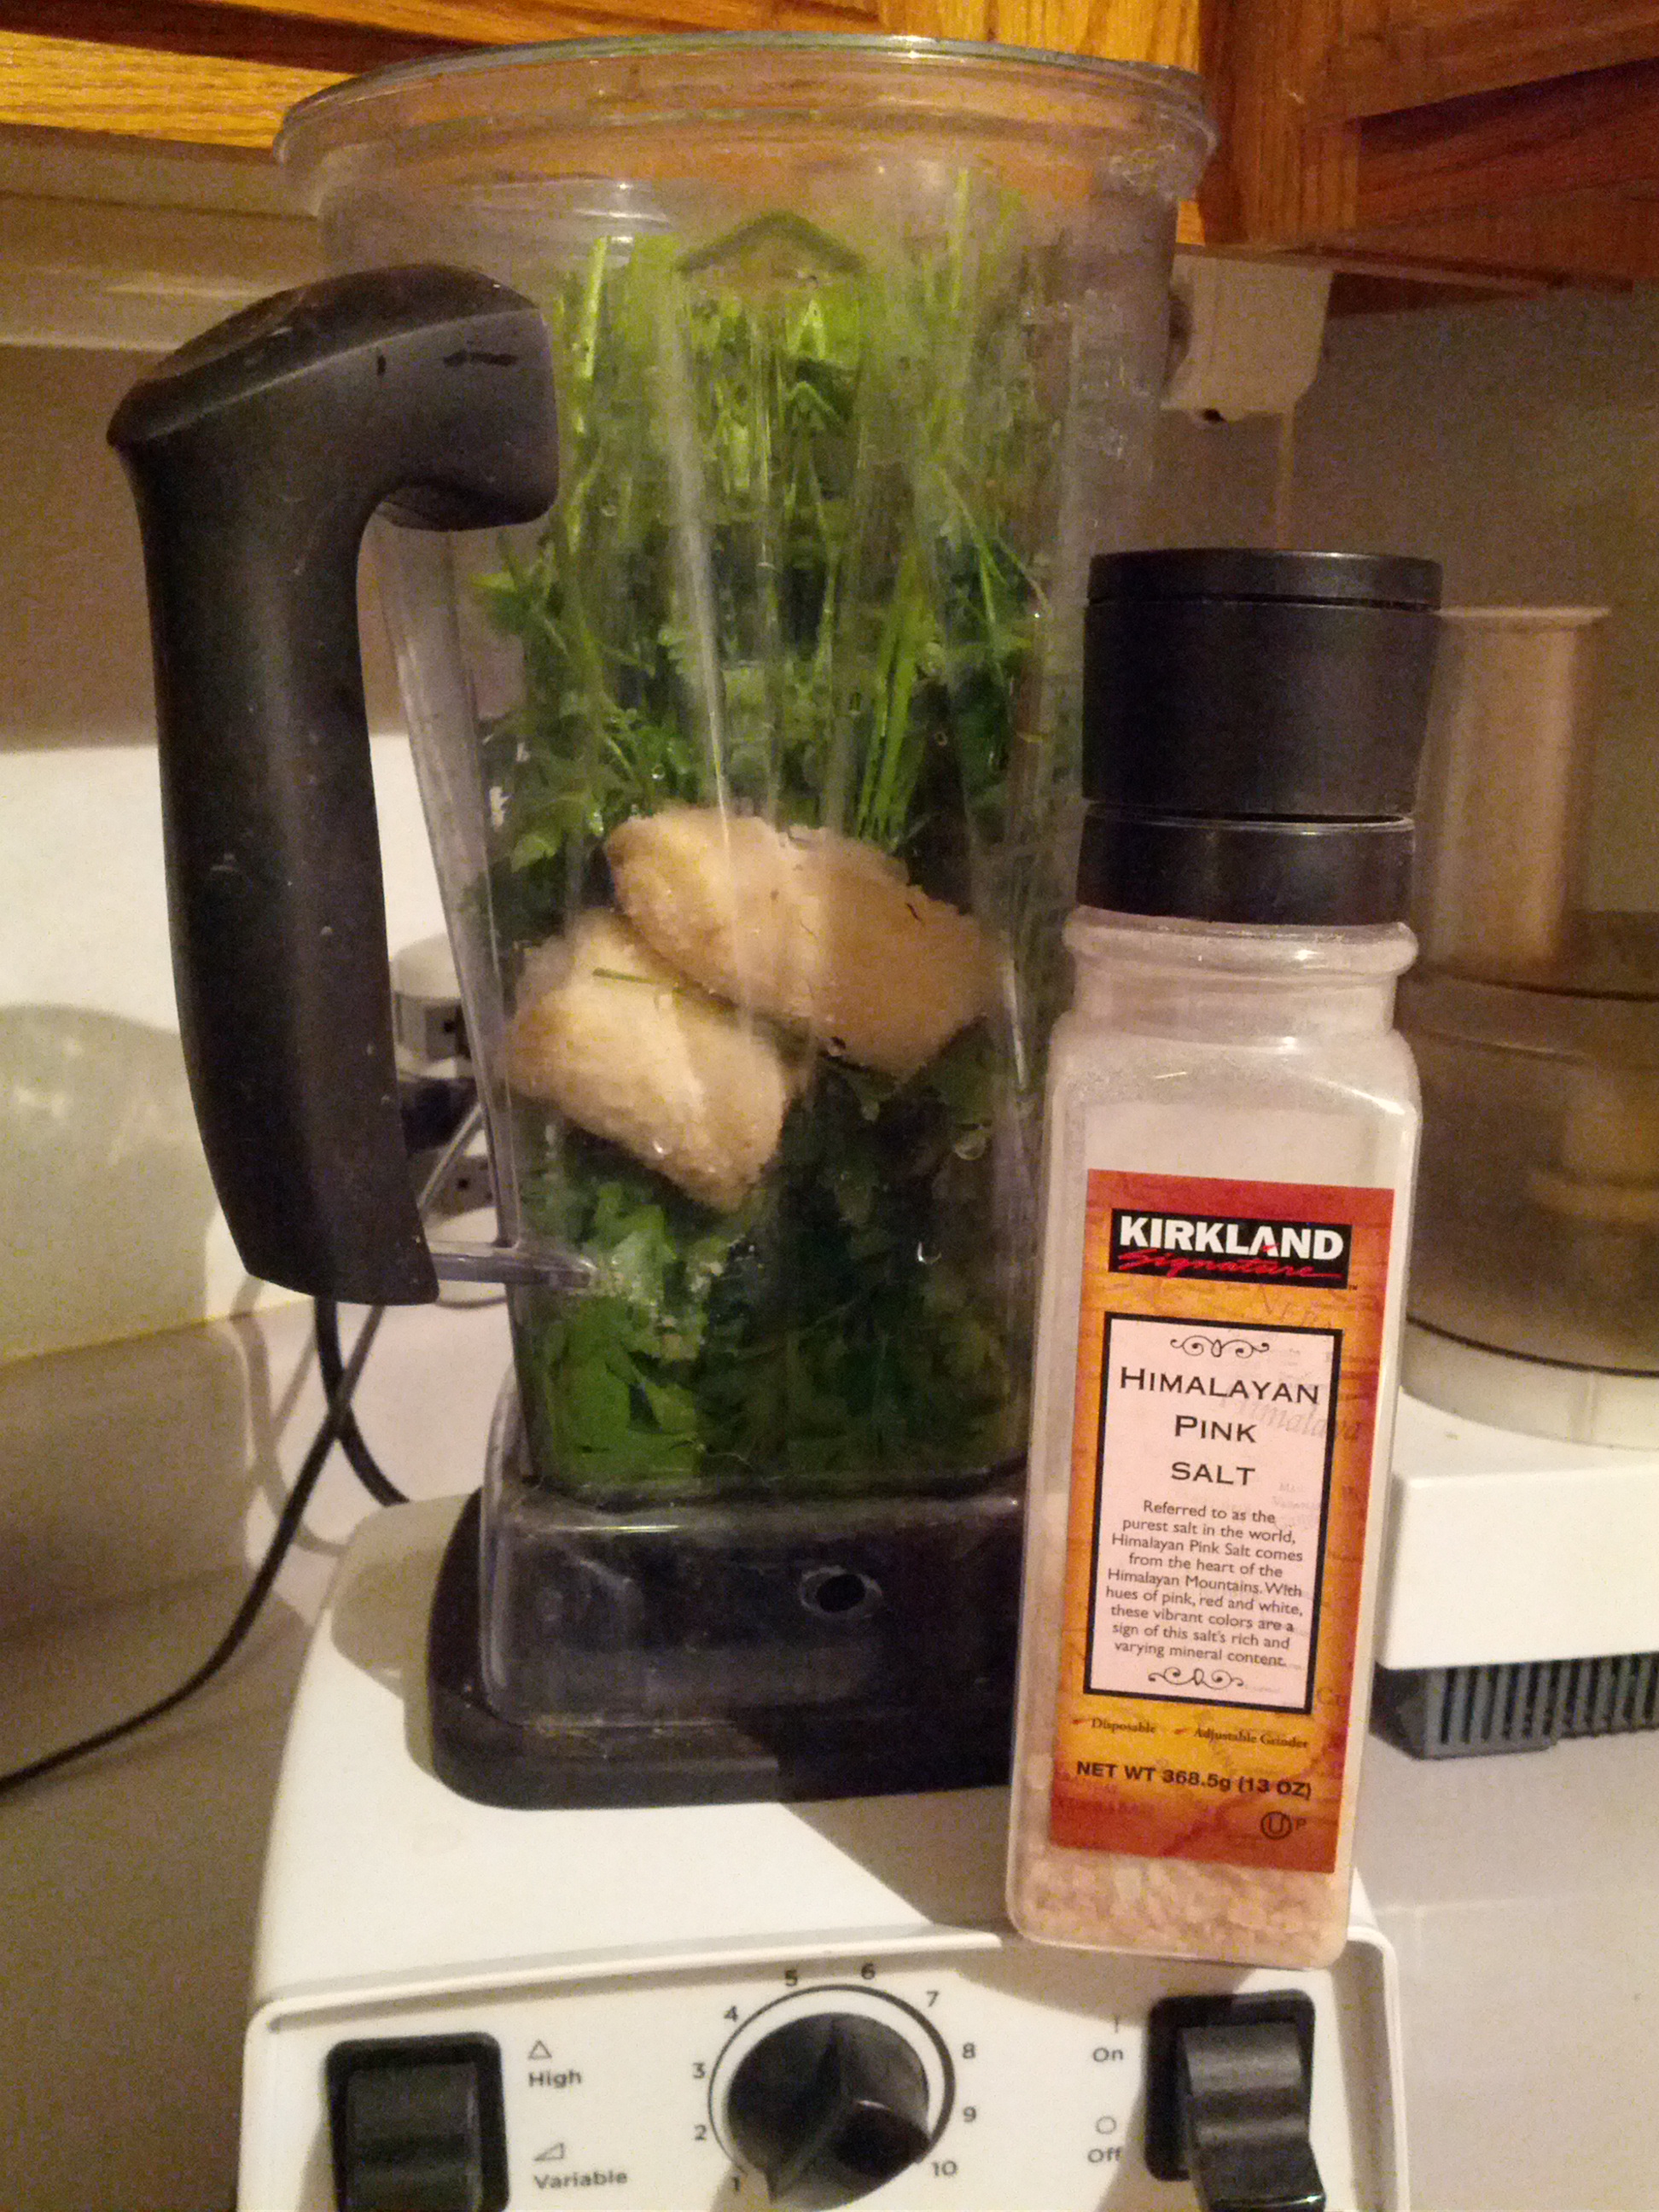
Take 2-3lbs of dried fruits, any mixture you’d like of raisins – dates – figs – prunes – candied/glazed items – candied citrus peel. Steep them in a mixture of heavy & fruity boozes such as port, rum, bourbon, et cetera in a LARGE GLASS container. Plastic may stain, metal may do bad things. My vat contained rum and port (what I had on hand). Allow this to steep for a minimum of several weeks, up to a year or more. For future cakes, go ahead and double the amounts and start your batch for next year now!
STEP 2 (2 hours, give or take): can be started up to a week before you make the cake(s).
Making BLACK SUGAR is an amazing process in patience and home chemistry. Take 2 cups of brown sugar and put it in a heavy bottomed pan. Melt this over low-med heat. For the longest time it will seem like nothing is happening except that the grainy-ness of the brown sugar gets a little moist. DO NOT add water. Just keep stirring it so the bottom doesn’t burn, and after about 30 minutes Magical Transformation #1 will occur – the whole mass will liquefy at the same time. Once it does that you will have a caramel tan colored goo. Keep stiring and watching that until it gets darker….. and darker…. and darker….
If you walk away for a few minutes, you might come back to a fascinating sight:
Magical Transformation #2
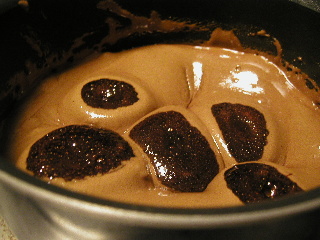
Magical Transformation #2
…black lava-like bubbles in your tan sludge. Stir them back in and keep things going. Eventually the mixture will get VERY dark, almost black:
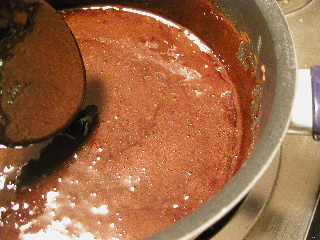
Almost black sugar goo.
….and your kitchen will smell like, well, burnt sugar. Its not unpleasant, especially if you like complex verging on bitter flavors (coffee, for example). Keep letting it darken as long as you dare. When it is a hair’s breadth away from being officially burnt, heat up 1 cup of water to boiling, remove the pan from the heat, and pour the water in. Congratulations, you have just made black syrup. Allow it to cool, then store in glass in the fridge until you are ready for
STEP 3 (the cake(s); 2 hours including baking time):
2 cups cake flour
2 tsp baking powder
1 tsp each of nutmeg and cinnamon
1/2 tsp each of cloves and cardamom
1 cup Packed brown sugar
1/2 lb butter (salted), room temp
6 eggs
Black Syrup (1-2 cups, see above and below)
Marinated Fruit (see above)
Sift the flour with the baking powder and spices in a medium bowl. In a large bowl, cream the butter and sugar until fluffy, then beat in the eggs one by one. Fold in the soused fruits, and half to all of the black syrup (until batter is as dark as you want it to be). Then fold in the flour mix, and pour into 2 well-lubed AND parchment-lined cake pans, or small loaf pans (note the brown color of mine; I could have added more of the black syrup):
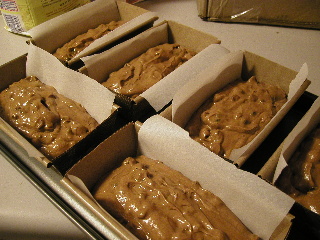
Black cake batter in little pans
Bake about 90+ minutes at 325, until a toothpick comes out moist – not wet, but not totally clean, as the cake should be very moist. When they come out of the oven sprinkle the tops with dark rum, allow to cool, and then keep in an airtight container (or double layer of foil, or plastic, etc) until ready for consumption or gifting. Every few days, drizzle with more rum if they look a little dry. Cakes will keep at least a month and are better a few weeks after baking, though I’ve heard its tradition to keep one of the batch until next year (whoa).
Whew. Now, get cracking on your soused fruits for next year! 🙂